Instructions for installing a strip of self-adhesive solar film on the top of a windshield
Park your vehicle in a shaded area or inside a garage to avoid direct exposure to sunlight. Make sure your windshield is clean and free of dust, dirt or any other residue.
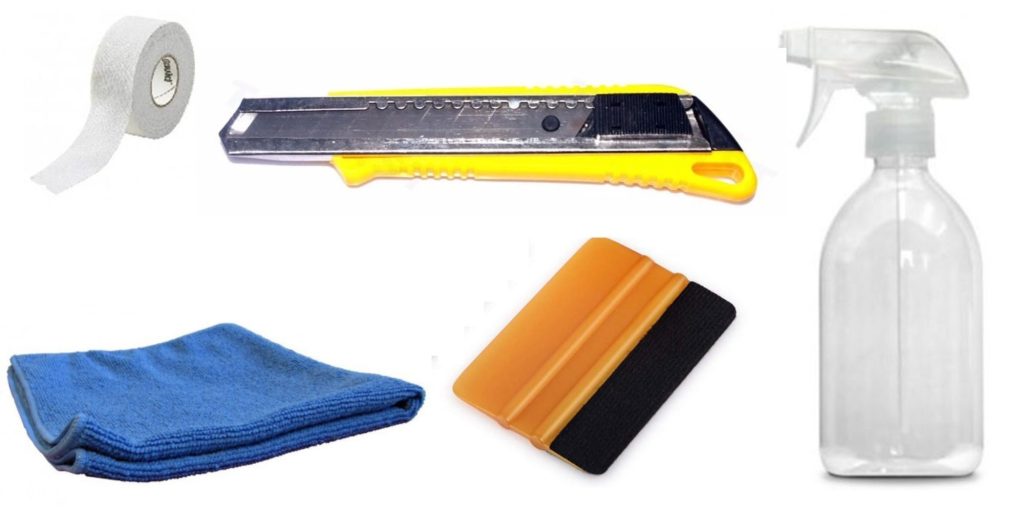
Materials needed:
- Bande de film solaire Station Mania™
- Solution savonneuse préparée dans un flacon à spray dosée à 1 volume de savon liquide pour 5 volumes d’eau
- Raclette douce en plastique ou en caoutchouc, utilisez un chiffon propre replié sur le bord d’une spatule si vous n’avez pas de raclette douce. Ceci est très important pour chasser les plis, l’air et l’eau sous le film qui est très fin
- Un cutter avec une pointe de lame bien coupante
- Un chiffon propre et doux qui ne peluche pas (idéalement en microfibres)
1- Cleaning the windshield:
- Spray the soapy window solution and clean your windshield thoroughly on both sides.
- .Use the plastic or rubber squeegee to wipe the windshield and remove any dirt or streaks.
- Dry the surface thoroughly with a microfiber cloth or soft cloth.

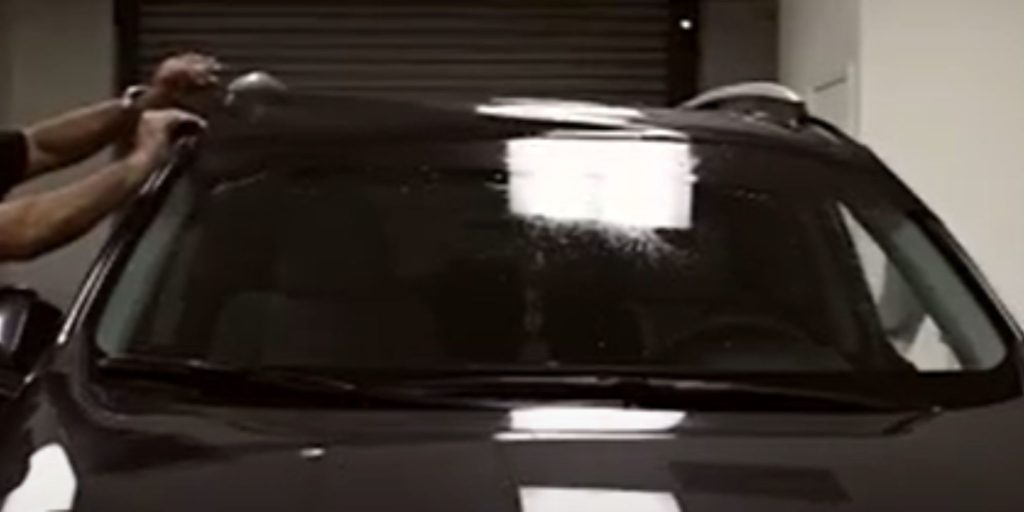
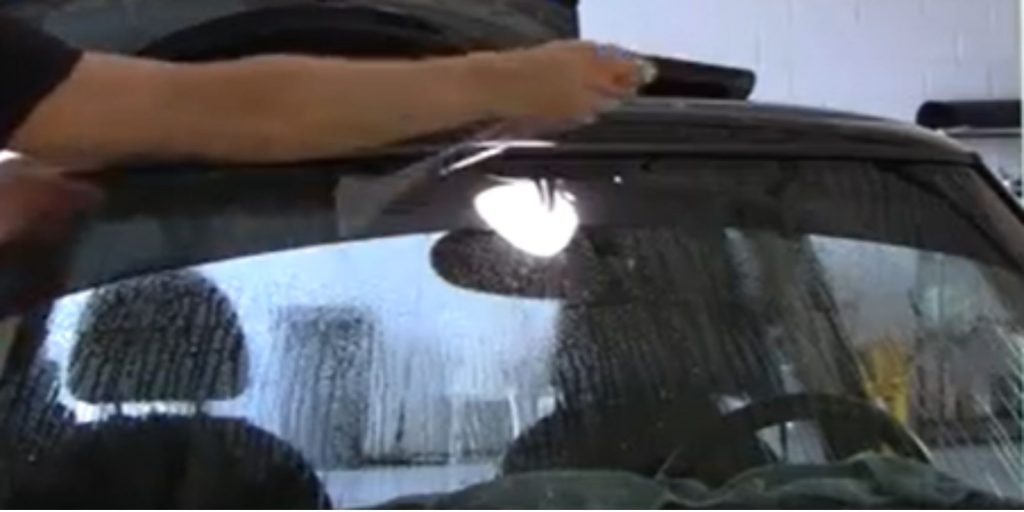
2- Measuring and cutting the sunshade:
Step of adapting the universal headband to the vehicle. To do this, you will use the external face of your windshield as a support in order to make a pre-cut.
- Spray soapy liquid on the top of the windshield on its outer side. (do not separate the protective layer from the film yet, we nevertheless recommend trying on a corner of the film to identify films) make sure that the protective layer is facing you and the film on the window. The film adheres easily to the window thanks to the solution you sprayed before.
- Unroll the sunshade headband to the full length, the headband is easy to adjust to achieve the height and length you will be using
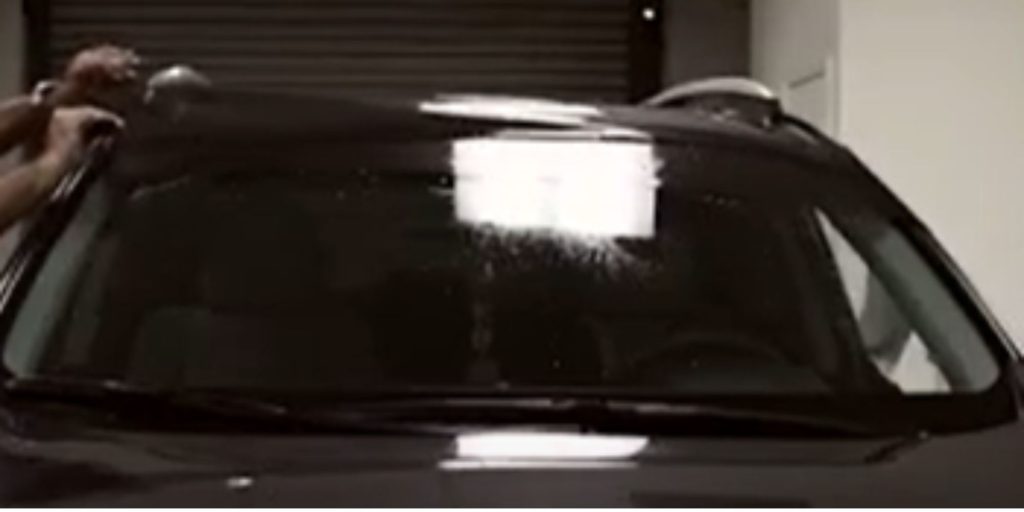
- At this adjustment stage you must ensure that the headband does not disturb your field of vision when sitting in the driver’s seat. It is also at this stage that you must choose an application height that complies with the regulations of your country.
- Once adjusted you can cut the film with your cutter following the inside of the window joints. Note that a central notch may be necessary to allow passage around the interior mirror depending on its position.
- Your headband is now adapted to your windshield.
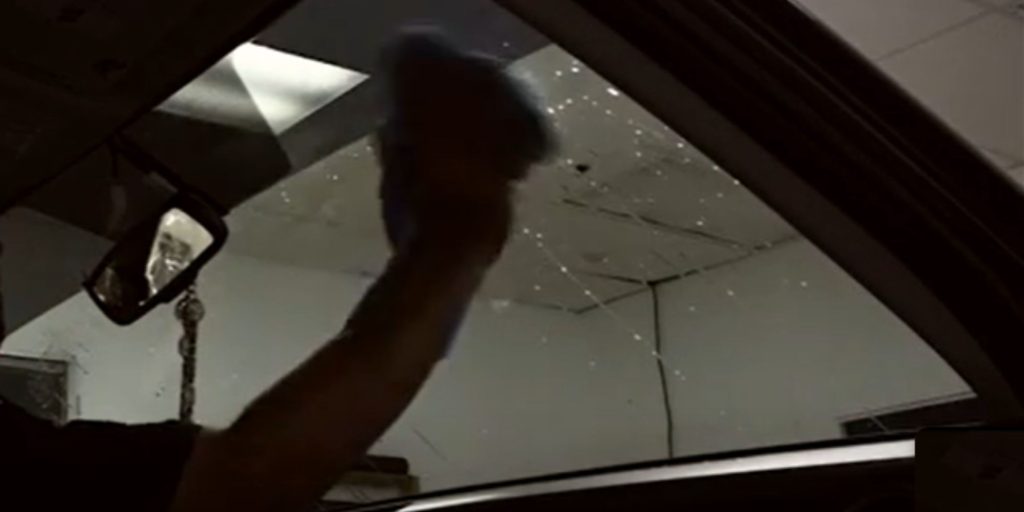
3- Separation of the protective layer
We dedicate a specific step to this operation because too many negative reviews have been left by users who cannot do it or omit this step by complaining that the film peels off after a while (dangerous and poor quality product). as a result!). A layer of film protects the self-adhesive part; it is essential to remove this layer to activate the glue with the soapy solution.
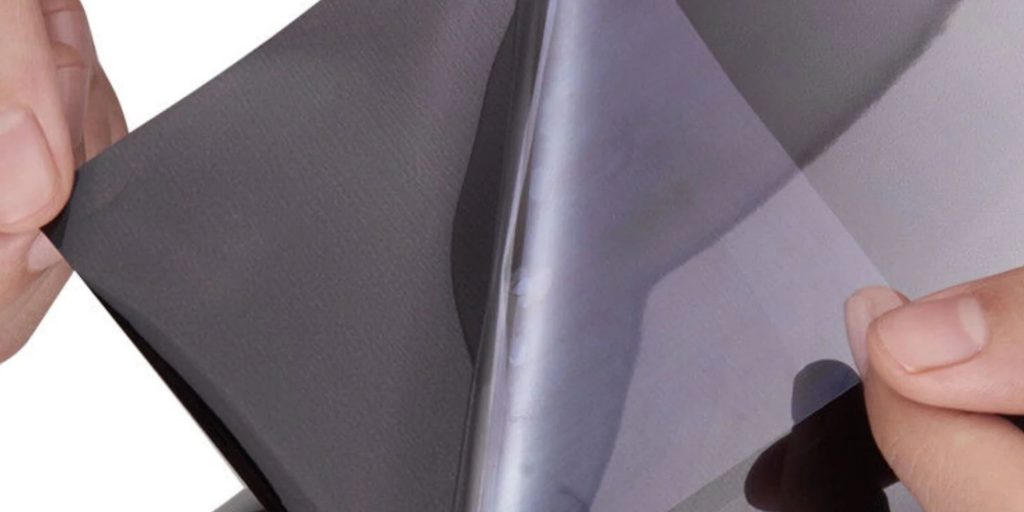
The film is still in place on the outside of your windshield. begin peeling off the protective layer from one corner of the headband (often a delicate step, we agree). Once peeling has started, you must generously spray soapy water in order to activate the glue and soften the thin, delicate film. to handle.
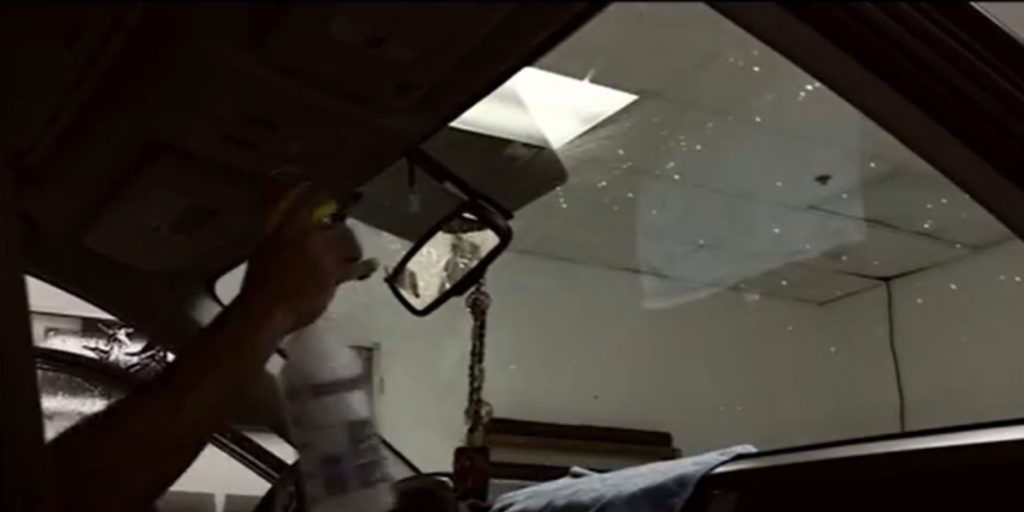
4- Setting up
- Leave the blindfold outside and enter the passenger compartment. Protect the dashboard from splashes and drips of soapy water by covering it with towels or rags.
- Spray the soapy solution at the intended location of the headband.
- Collect your pre-cut and damp strip from the outside and place it on the inside of the windshield. starting from one side.
- Place the strip on the windshield, aligned with the top edge. As the glue is not dry, the strip may slide on the window.
- Adjust the edges of the window and the rim of the mirror. Cut to the contours of the mirror bracket.
5 – Smoothing
Press the strip firmly so that it adheres well to the windshield. Use the plastic or rubber squeegee to smooth the film and remove air bubbles and remove excess soapy water. Work from the center out to the edges.
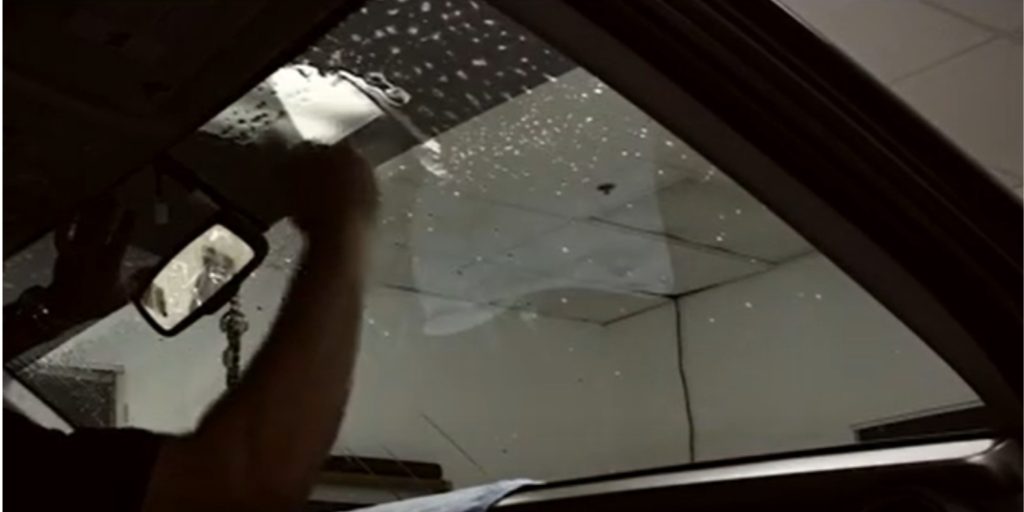
6 – Finishing
Once the sunshade is installed, use the plastic or rubber squeegee to smooth the film one last time. Check for air bubbles or wrinkles and correct them if necessary using the squeegee. Wipe up any spills with your cloth. Allow the film to set and dry for at least a few hours. Fogging may appear between the film and the filter as well as microbubbles, this is normal. In a few days the glue will completely dry and the film will stretch, the fogging and micro bubbles will disappear.